


An Android VM for ARMv8
In my last article I described how to build a Linux image that can be executed by Genode's VMM on i.MX8 platforms. With this article we take things to the next level by creating and executing an unmodified Android 10 VM on the i.MX 8M EVK SoC.
Building Android from source
NXP provides good documentation on how to build Android from source, it can be obtained here. Additionally source.android.com offers good reference. So let's start building now:
-
For source code checkout the repo tool is required and must be put in your PATH
 curl https://storage.googleapis.com/git-repo-downloads/repo > ~/bin/repo
 chmod 755 ~/bin/repo
-
Install Python >= 3.6
-
The Android source code is split in open source and vendor specific parts. Fortunately NXP provide the vendor specific code that also downloads the other parts. It can be obtained here An NXP account is required.
-
Unpack the source code
tar -xzf imx-android-10.0.0_1.0.0.tar.gz
-
Download the public sources, per default the sources are put into ~/android_build. The download size is about 90GB.
 source imx-android-10.0.0_1.0.0/imx_android_setup.sh
 export MY_ANDROID=~/android_build
-
Every path from here is relative to MY_ANDROID
-
Configure the build environment
source build/envsetup.sh
-
Configure the build for our i.MX8 SoC
lunch evk_8mq-userdebug
-
Android uses the LLVM compiler. This is currently not supported by NXP. Therefore, the kernel and the bootloader (U - Boot) need to be build separately with the GCC tool chain. GCC can be obtained here. We chose gcc-arm-8.3-2019.03-x86_64-aarch64-elf.tar.xz. Extract the tool chain. And set
export AARCH64_GCC_CROSS_COMPILE=<tool-chain>/gcc-arm-8.3-2019.03-x86_64-aarch64-elf/bin/aarch64-elf-
accordingly.
-
For development we like to network boot Genode scenarios. Per default U-Boot only supports small boot image sizes. Therefore, we adjusted:
CONFIG_SYS_BOOTM_LEN (256 << 20) /* 256 MB */
in vendor/nxp-opensource/uboot-imx/common/bootm.c.for the bootm command.
-
Build U-Boot
imx-make.sh -j32 bootloader
-
Build the Linux kernel
imx-make.sh -j32 kernel
-
Build the Android user land
make -j32
-
Detailed build logs can be found in out/verbose.log.*
Test drive the Android build
In order to the test our Android build we flashed an SD card. For this install android-tools-fsutils Ubuntu to obtain simg2img.
-
Go to the build directory of our board:
cd out/target/product/evk_8mq
-
Copy the U-Boot binaries
cp obj/UBOOT_COLLECTION/* .
-
Flash the SD card
./fsl-sdcard-partition.sh -f imx8mq /dev/<sdcard>
In case the script exists stating the partitions cannot be re-read. Increase the value of the sleep command in the script. Insert the SD card into the i.MX8 board and check if Android boots up correctly.
Starting Android as a virtual machine
Since Genode's VMM already supports the execution of unmodified Linux kernels, Android can be started in the same way as a normal Linux guest is. All that is needed is a kernel image, an initial RAM disk, and a device tree. This way we were able to build a Genode image, where Genode is loaded by U-Boot and Genode's VMM starts the Android Linux kernel as a VM. As we will see adjustments had only been made to the device tree. In the first step we want to give Android access to most of the SOCs hardware directly, exceptions are the UART and the interrupt controller, which are emulated by the VMM. So first, we exchanged the UART and the interrupt controller descriptions in the device tree with Genode's versions.
Hardware device pass-through
Our VMM already supports this feature. For this to work, all the physical resources described in the device tree have to be mapped to the exact same location within the guest VM, and the correct interrupts have to be injected. On i.MX8 DMA memory becomes an issue, because there is no I/O MMU. This means there exists no guest physical to host physical memory translation support by the hardware. In order to support DMA guest physical and host physical memory have to be mapped one to one by the VMM. As the time of writing, Android can already access the most important devices, e.g., SD card, USB, HDMI, and the GPU. But other devices, like audio support and the camera are still a work in progress.
Power management considerations
On ARM core idle management, addition and removal of cores, and system shutdown are defined by the Power State Coordination Interface. This interface is vendor implemented in firmware at a higher privilege level. Per default Linux assumes to run in privilege mode EL2. This means that the kernel will try to issue smc calls to the secure word, in order to call power state functions. Fortunately, this behaviour can be changed in the device tree and exchanged with hyp calls to the VMM. The VMM in turn emulates the calls issued by the guest, and thus, remains in control of the system. For an in depth article please refer to Stefan's post about this topic.
Additionally, we had to instruct the Linux kernel to not disable any clocks of the SoC, were Linux assumes they are unused. The default behaviour is that the kernel disables all clocks that are not explicitly enabled by a Linux driver. This can be achieved by a simple kernel parameter (clk_ignore_unused).
Android Verified Boot (AVB)
Android implements AVB in order to ensure the integrity of software running on a device. Additionally Android offers integrity checking of block devices through the device-mapper-verity, that is initialized by AVB. Much of the AVB setup is performed by the boot loader (U-Boot). Because the Android VM is loaded by Genode's VMM, which does not offers AVB functionality, Android is unable to mount the file system on the SD card. Therefore, both features need to be disabled.
Steps to disable dm-verity:
-
Boot Android in About tablet click seven times on build number to enable developer mode
-
Enable Settings -> Developer Options -> OEM Unlocking
-
Reboot into U-Boot
-
Connect USB-C cable to PC Android build
-
In U-Boot start fastboot
fastboot usb 1
-
Unlock device from the Android build
out/host/linux-x86/bin/fastboot oem unlock
-
Boot into Android and disable dm-verity from PC
 out/host/linux-x86/bin/adb root
 out/host/linux-x86/bin/adb disable-verity
 out/host/linux-x86/bin/adb reboot
For AVB we extracted the kernel parameters and values from U-Boot that disable the feature:
 androidboot.vbmeta.device=PARTUUID=$(ANDROID_VBMETA_PARTUUID)
 androidboot.vbmeta.avb_version=1.1
 androidboot.vbmeta.device_state=unlocked
 androidboot.vbmeta.hash_alg=sha256
 androidboot.vbmeta.size=3904
 androidboot.vbmeta.digest=2072986c8709ab0f6d60f89ccbdc49f1ea687283ae88c7022db0aa8553c89393
 androidboot.vbmeta.invalidate_on_error=no
 androidboot.veritymode=disabled
 androidboot.verifiedbootstate=orange
The digest can have an arbitrary value, I long as its length matches the one of a SHA256 checksum.
Current state
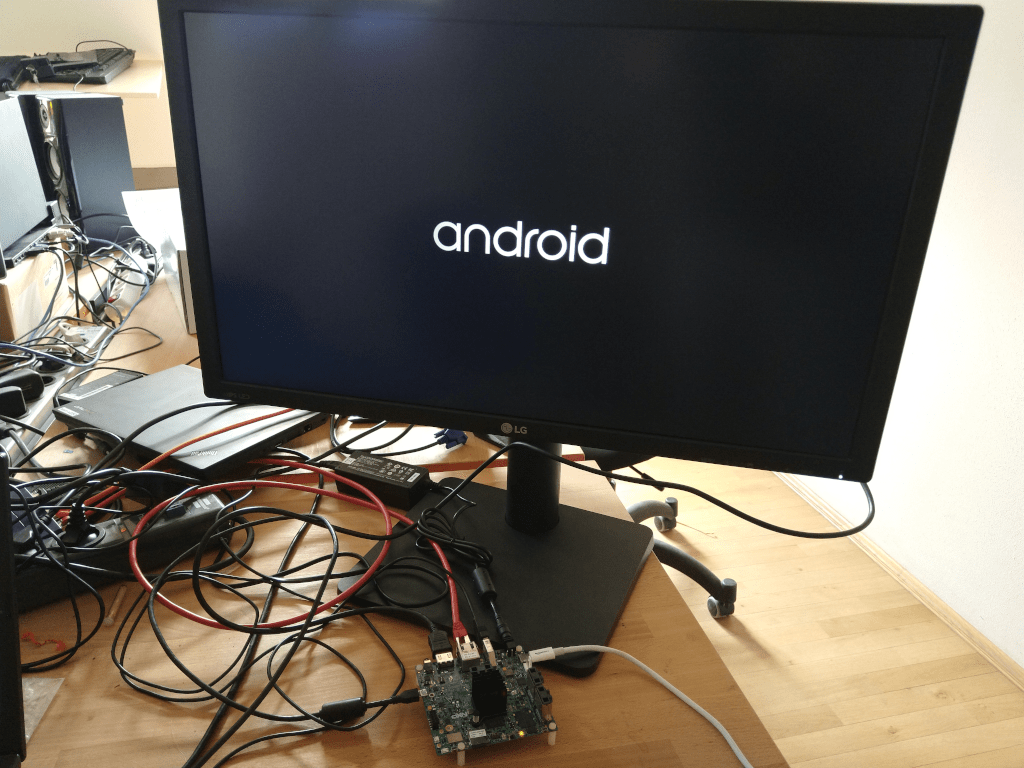
In the current state we are able to boot Android, there is input, the graphics, SD-card are working, but there still some issues with audio and the camera that will be addressed shortly.
|
My Genode Android branch can be found here.